A contactless ordering restaurant setup lets a guest scan a code at the table, read the menu, order and pay on their own phone, with the order reaching the kitchen as a printed ticket and nobody taking it down by hand. For a small restaurant with two or three floor staff, it is less about hygiene now and more about running a full room on Saturday night without a fourth person.
This guide is the setup, in order: decide the flow, build a menu that works on a phone, print table codes with numbers, choose how payment happens, wire the kitchen and service steps, train staff and tell guests. There is a cost table for a 12-table restaurant and a list of the mistakes that make guests ask for a paper menu.
Decide the flow before you print anything
Three decisions shape everything after them, and changing them later means reprinting codes and retraining staff.
Pay first or pay later. Cafes, food courts and counters usually take payment at the moment of ordering, by UPI or card on the guest's phone. Family restaurants and bars let orders accumulate against the table and settle at the end. Pick the one your guests already expect.
Web menu or WhatsApp. The code can open a web menu in the browser, or it can open a WhatsApp chat where an ordering bot takes the order. The web menu is faster for browsing a long menu; WhatsApp suits guests who want a chat thread with the restaurant and order updates in it. Many systems do both from one code, which is the comfortable answer.
Does staff confirm each order. Some restaurants want a staff member to accept every table order before the kitchen starts, to catch a guest at table 3 who scanned table 7's code. Others send everything straight to the kitchen. Start with confirmation on, and turn it off once the codes and table numbers have proved reliable.
The QR ordering explainer describes the full scan-to-served loop if you want to see the flow before choosing.
Six setup steps
Step 1: build a menu that works on a phone
Group items into eight to twelve tappable categories. Give every item a price, a one-line description and, for anything that sells on looks, a compressed daylight photo. Set up variants (half or full, mild or spicy) and add-ons (extra cheese, raita) as options rather than separate items, so the menu stays short. Mark items that run out as sold out during service rather than leaving them visible. For a counter that serves breakfast and lunch, schedule sections by time so the 7am guest does not see the dinner thali.
Step 2: create table codes with numbers
Create one code per table, each carrying its table number. Print them on acrylic stands or laminated cards, at least 3cm square, dark on a light background, with one line underneath: "Scan to see the menu and order. Pay on your phone or at the counter." Add the Wi-Fi name and password on the same card if your signal is weak. Keep two or three spare cards per table number, because stands get knocked over and cards get wiped into illegibility. The QR menu examples show how different restaurants place and label them.
Step 3: set up payments
Connect a payment gateway so the menu can take UPI and cards; in India that usually means a Razorpay or similar account linked to the ordering platform. Decide whether cash remains an option, and if it does, make sure the dashboard lets staff mark a table as paid at the counter so the record is complete. Every table's bill should come out as a GST invoice generated from the order, with the table number on it.
Step 4: wire the kitchen and the service flow
Put a thermal printer in the kitchen so every table order prints as a KOT with the table number in large type. A 58mm printer is enough for most small kitchens; the thermal printer guide explains the choice. Then agree the statuses: pending when the order arrives, preparing when the kitchen picks it up, ready when it is plated, served when a runner has put it on the table. The person who runs food marks it served from the staff app, which is how the floor knows which tables are still waiting.
Step 5: train staff in one short session
Each role has two or three things to learn. Kitchen: read the KOT, update the status. Floor: watch the staff app for new orders and alerts, run food to the table number on the ticket, mark it served, help any guest who prefers to order through a person. Counter: settle cash bills against the right table and close the table when guests leave. Run one full service with a manager watching, and keep a paper fallback for the first week.
Step 6: tell guests how it works
The table card does most of the work, but a server greeting each table with "scan the code to see the menu and order, or I can take it for you" removes the hesitation. Keep three or four printed menus for guests who ask. During the first month, put a small note at the bottom of the bill asking for a rating, so you hear quickly if the flow is confusing.
Setup cost for a 12-table restaurant
Ranges as commonly quoted at the time of writing; local prices vary.
| Item | Cost | Notes |
|---|---|---|
| 12 acrylic stands with printed codes, plus spares | ₹1,000 to ₹3,000 | Stickers are cheaper but wear out faster |
| 58mm thermal printer | ₹3,000 to ₹6,000 | 80mm is ₹2,000 to ₹4,000 more |
| Printer paper rolls, monthly | ₹300 to ₹600 | Depends on order volume |
| Ordering platform subscription, monthly | ₹1,000 to ₹4,000 | Plus per-order or percentage fees on some platforms |
| Payment gateway charges | A percentage of online payments | Set by the gateway; cash has none |
| Staff phone for the dashboard and app | Usually existing | A ₹10,000 Android phone if you need one |
| Guest Wi-Fi router, if needed | ₹1,500 to ₹4,000 | Only for weak-signal rooms |
For a restaurant without a POS, a contactless ordering setup often becomes the order system, since it records every table's sales, prints KOTs and generates bills. The table ordering versus POS guide covers when a separate POS is still needed, and the order management guide covers what the system must do once orders are flowing.
Mistakes that make guests ask for a paper menu
- A code that opens a PDF. It is slow, needs zooming and cannot take an order. Point codes at a web menu.
- Asking for a login before showing the menu. Show the menu first; ask for a phone number only when the guest orders.
- Nobody notices the order. The guest orders, waits, and flags a server anyway. Alerts on a staff phone, with sound, fix this.
- Sold-out items still visible. The first thing the guest experiences is a cancelled dish. Update availability during service.
- Prices on the menu that differ from the bill. Usually a tax display problem. Decide whether prices include GST and show it the same way everywhere.
- Removing printed menus entirely. Some guests will always prefer paper. Keep a few.
What this looks like on Tezzu
Tezzu's dine-in setup covers the six steps above in one place. You build the menu with categories, variants and add-ons, and schedule sections by weekday and time. Each table gets its own QR code with the table number; a guest scans and orders from the web menu or on WhatsApp through the ordering bot, with no app to install.
Payments run through Razorpay for UPI and cards, with cash as an option, and every order produces a GST bill. Orders land on the live dashboard and the staff app, which sounds an alert for new orders, print as KOTs on a thermal printer, and move through pending, preparing and a dedicated "served" status for dine-in. Staff roles and permissions decide who can see orders, update statuses and edit the menu. Setup takes about 30 minutes for the menu and connection, and every plan starts with a 7-day free trial.
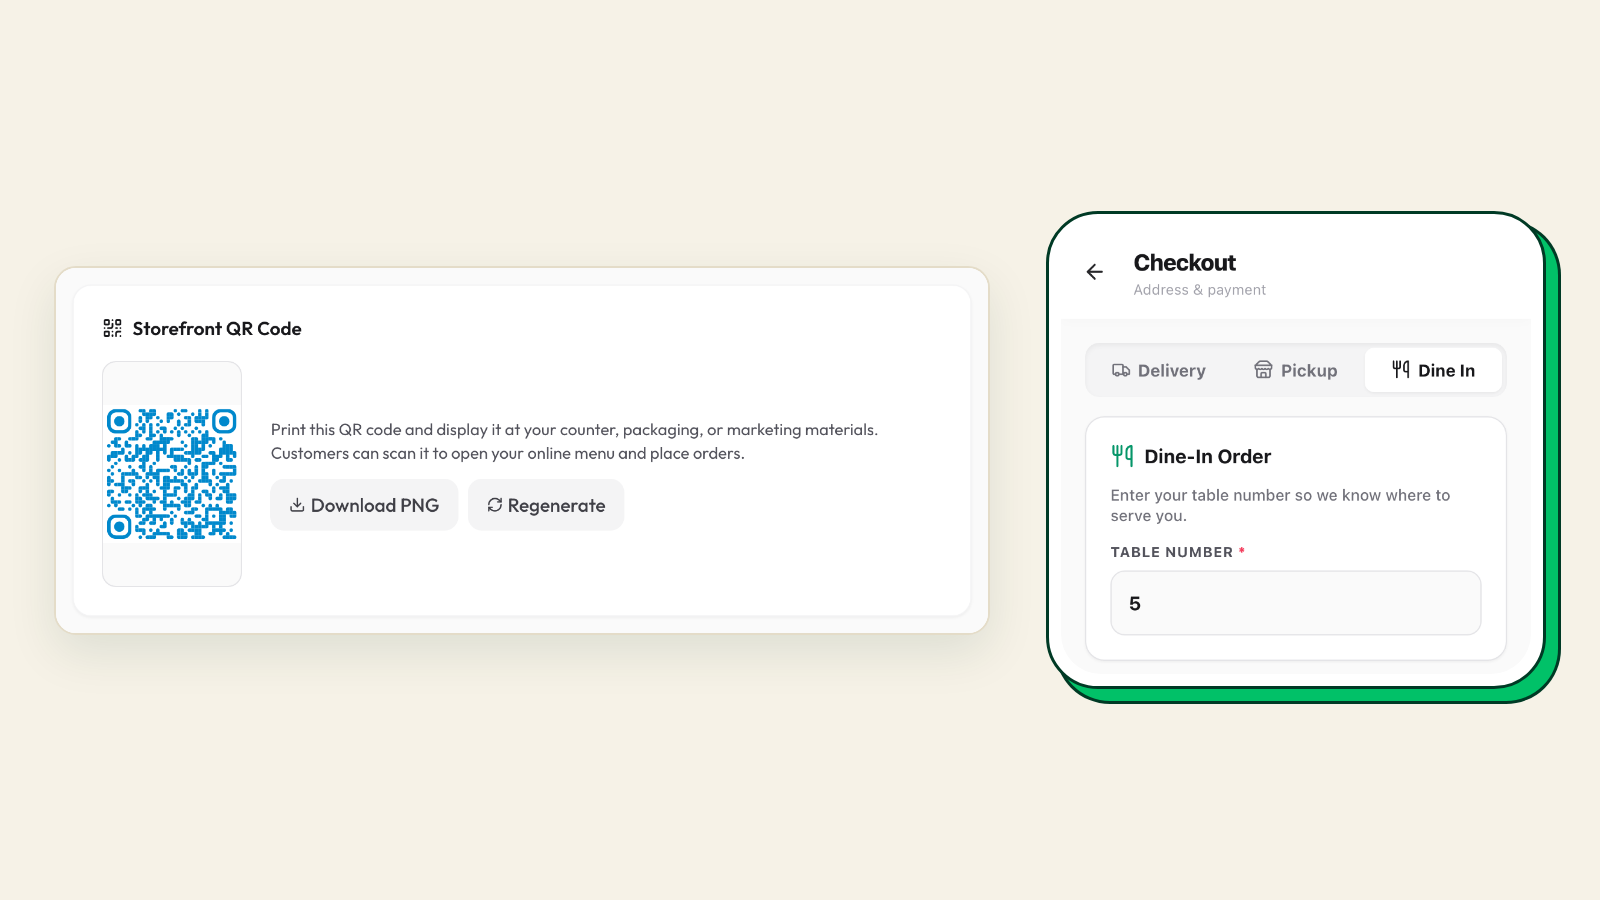
The dine-in setup guide walks through tables, codes, served status and printing step by step.
See contactless ordering set up for a small restaurant
The restaurant solution page shows QR tables, the web menu, WhatsApp ordering, payments and KOT printing working together.
See how it works for restaurantsFrequently asked questions
How do I set up contactless ordering in my restaurant?
Decide whether guests pay when ordering or at the end, build a phone-friendly menu with categories and prices, create one QR code per table carrying its table number, connect a payment gateway for UPI and cards, put a thermal printer in the kitchen for order tickets, agree the order statuses with staff, and run one supervised service before removing the paper fallback.
What equipment is needed for contactless dine-in ordering?
Very little: printed table codes on stands or cards, a thermal printer for kitchen tickets, a phone or tablet for the dashboard and staff app, and a payment gateway account. A guest Wi-Fi router helps in rooms with weak mobile signal. The ordering platform supplies the menu page, the codes and the order flow; most small restaurants need no POS terminal to start.
How much does contactless ordering cost for a small restaurant?
For a 12-table restaurant, one-time costs are typically under ₹10,000 for table stands and a thermal printer, with a monthly platform subscription in the low thousands plus any per-order or percentage fees, payment gateway charges on online payments, and a few hundred rupees in printer paper. Prices vary by provider, so check each one's pricing page.
Do guests still need a waiter with contactless ordering?
Yes, for different work. Staff stop writing orders and carrying them to the kitchen, and spend that time greeting tables, running food, marking orders served, settling counter bills and taking orders for guests who prefer a person. A small restaurant usually runs the same room with fewer hands and fewer wrong orders, with servers still present.